As its name implies, Movavi Video Suite allows you to cut a movie from existing clips. Although it is a paid app available for $79.95 (£65.95), the developers let you download a seven-day trial version, which should give you enough time to explore its features and decide if they’re for you.
- Want to try Movavi Video Suite? Check out the website here
One thing to be aware though, the Mac version on offer appears to solely be for Movavi Video Editor 15, ie, a standalone editor that was available two years ago and which we already reviewed. The PC version is the current ‘2021’ one, so it seems support for the Mac platform has languished since 2018, or the link on their site is faulty at the time of publishing this.
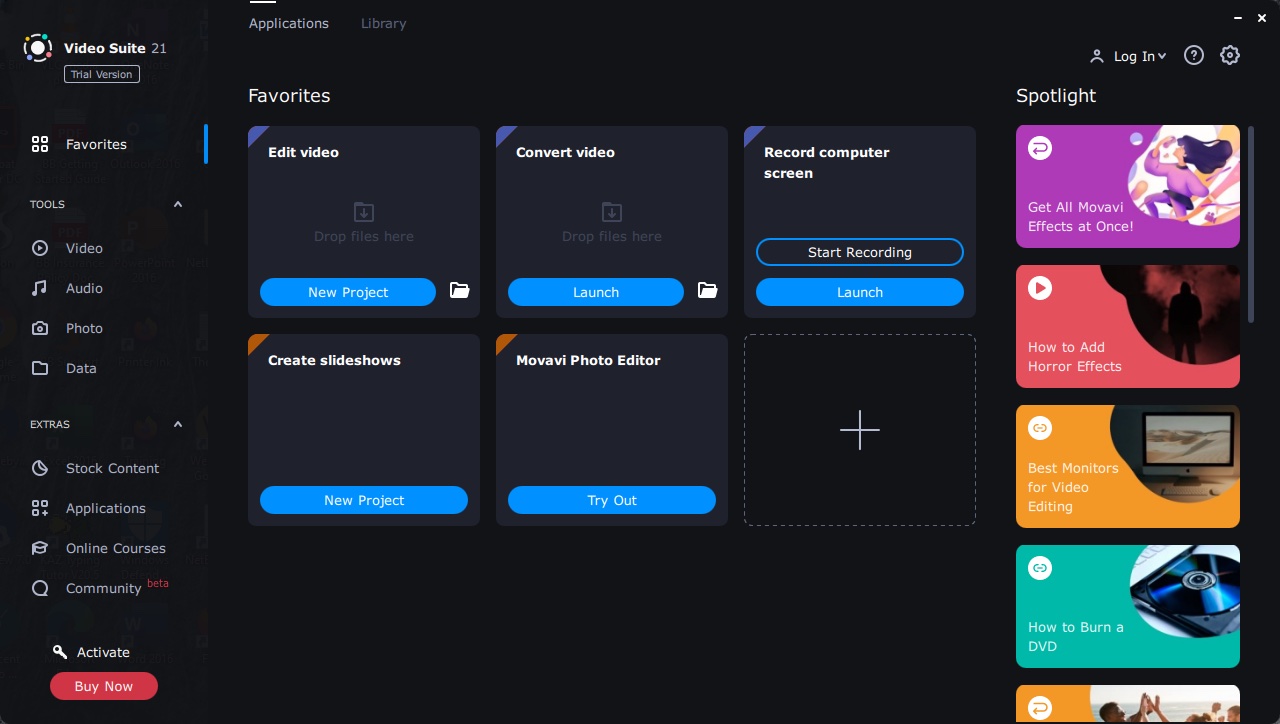
The app’s launch page offers you numerous options: edit a video, convert one, record your computer screen, create a slideshow and access the Movavi Video Editor.
You have a couple of sidebars. The one of the left gives you access to additional tools not listed in the main “Favourites” section, the Stock Content lets you browse through all available titles, stickers backgrounds and transitions, some of which are free, and others have to be paid for. There’s a subscription option to get everything, including any future additions for $79.95 (£75.95) per year.
There’s also a menu to see other applications made by Movavi, online courses and a community section.
The sidebar on the right offers a spotlight to popular links, like effects and tutorials.
But let’s get back to the Favourites section: being a suite, Movavi is a series of applications, but not all are included in the initial installation. Take the Photo Editor for instance which has a ‘try out’ button instead of a ‘launch’ one.
But we won’t be looking at every facet of this suite as our focus is on its video editing prowess, so we’ll be focusing our attention on those specific tools that come with the initial installation, especially the ‘Edit Video’ project.
Like any video editing app, the first thing you need to do when starting a new project is import media. This software is very flexible in that regard, and allows you to import video, photos and audio stored on your computer, or external drives. You can also gain access to your computer’s built-in camera and start recording straight from within the application.
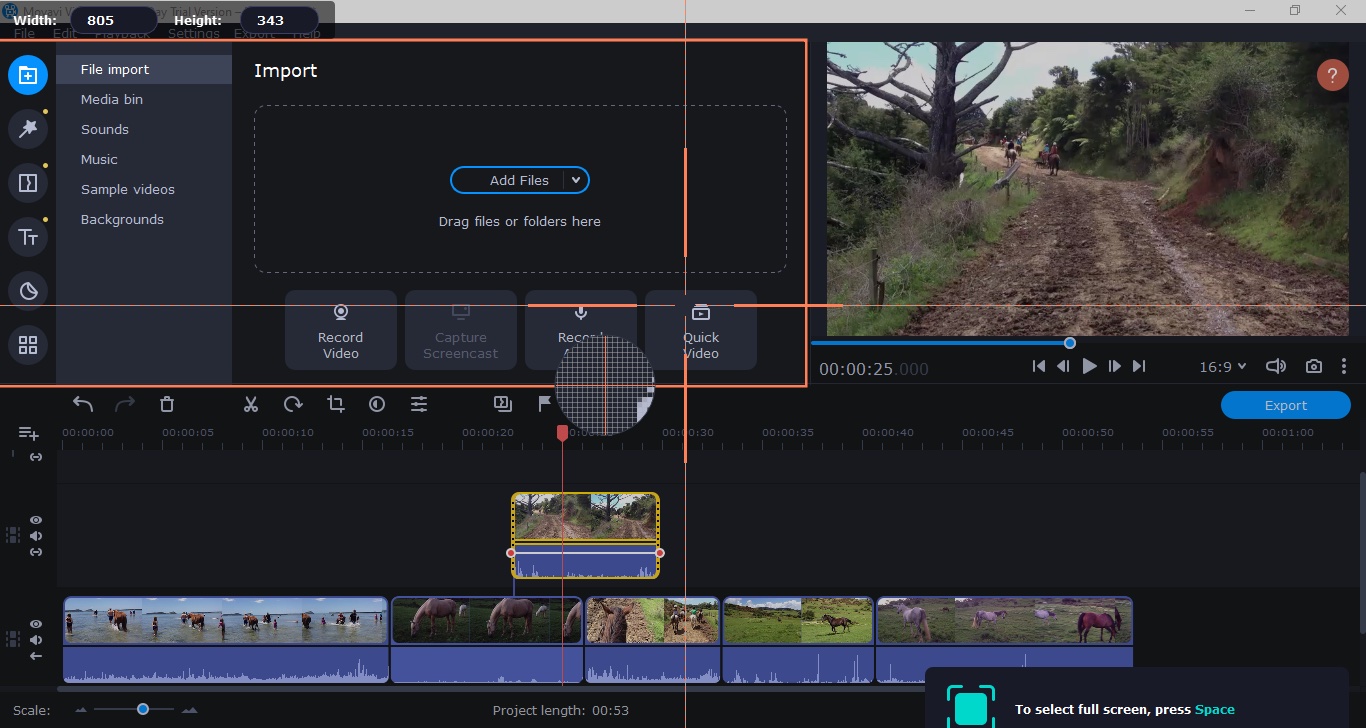
There’s also a screencast option, which lets you choose to record the whole screen or just a section of it. This launches a separate app of the suite. Speaking of separate apps, you can import footage from any AVCHD camcorder with an app appropriately called ‘Import AVCHD’ (in the Sidebar’s Data menu), so all the bases are pretty much covered.
- Also check out our roundup of the best free video editing software
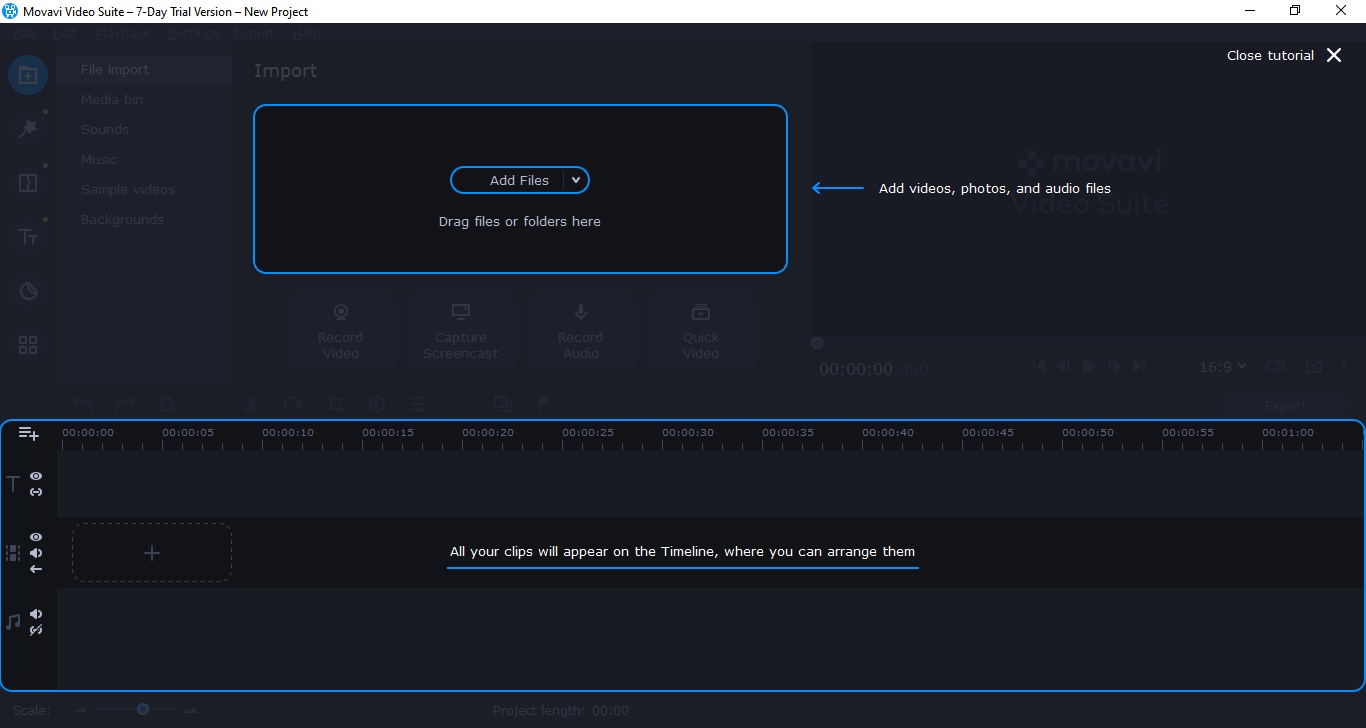
Importing and editing
All imported media is stored in the Media Bin, which is a very welcomed improvement over the last time we looked at this video editor. It’s much easier to browse through your footage this way, and decide which parts to use.
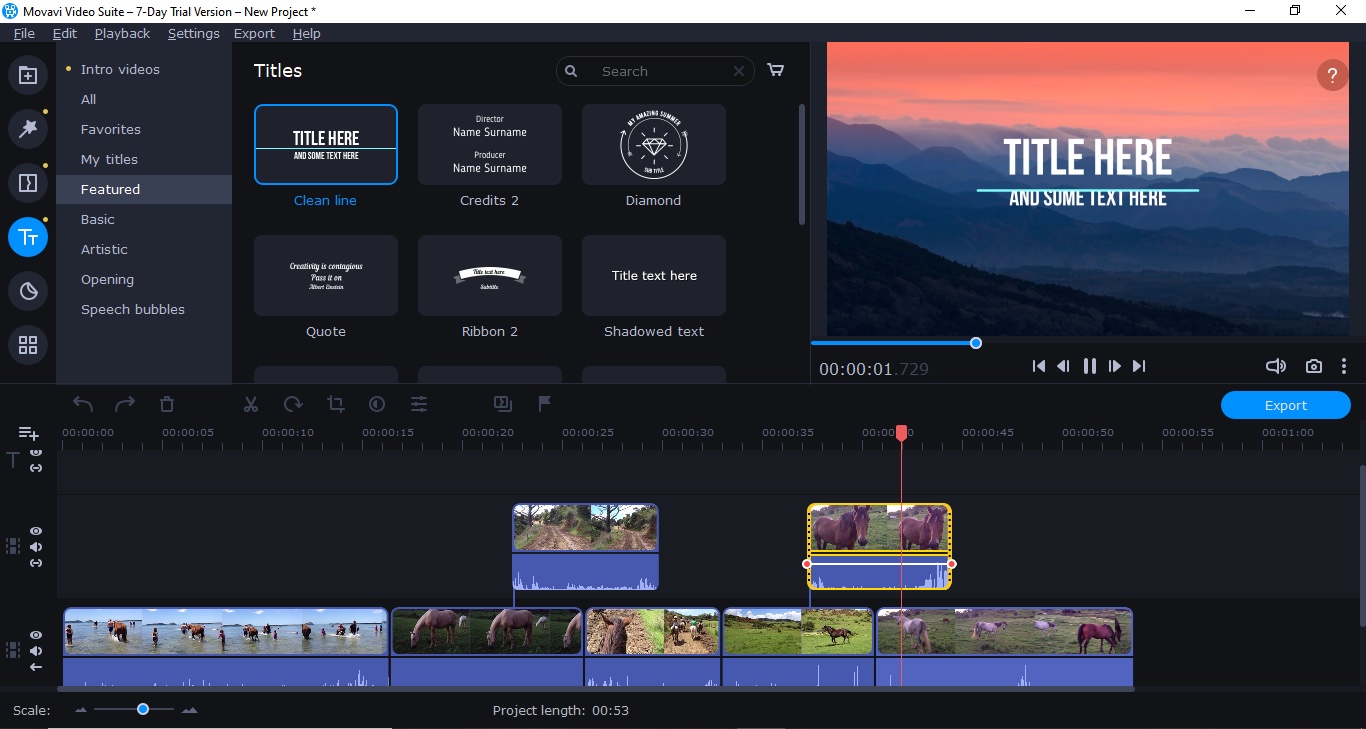
It’s very easy to move clips around the timeline. In a manner similar to Final Cut Pro X’s magnetic timeline, deleting clips will shunt any others on its right to the left to close the gap between all remaining segments. This process works when reordering clips on the first (ie primary) layer, but does not apply to any other layers above it.
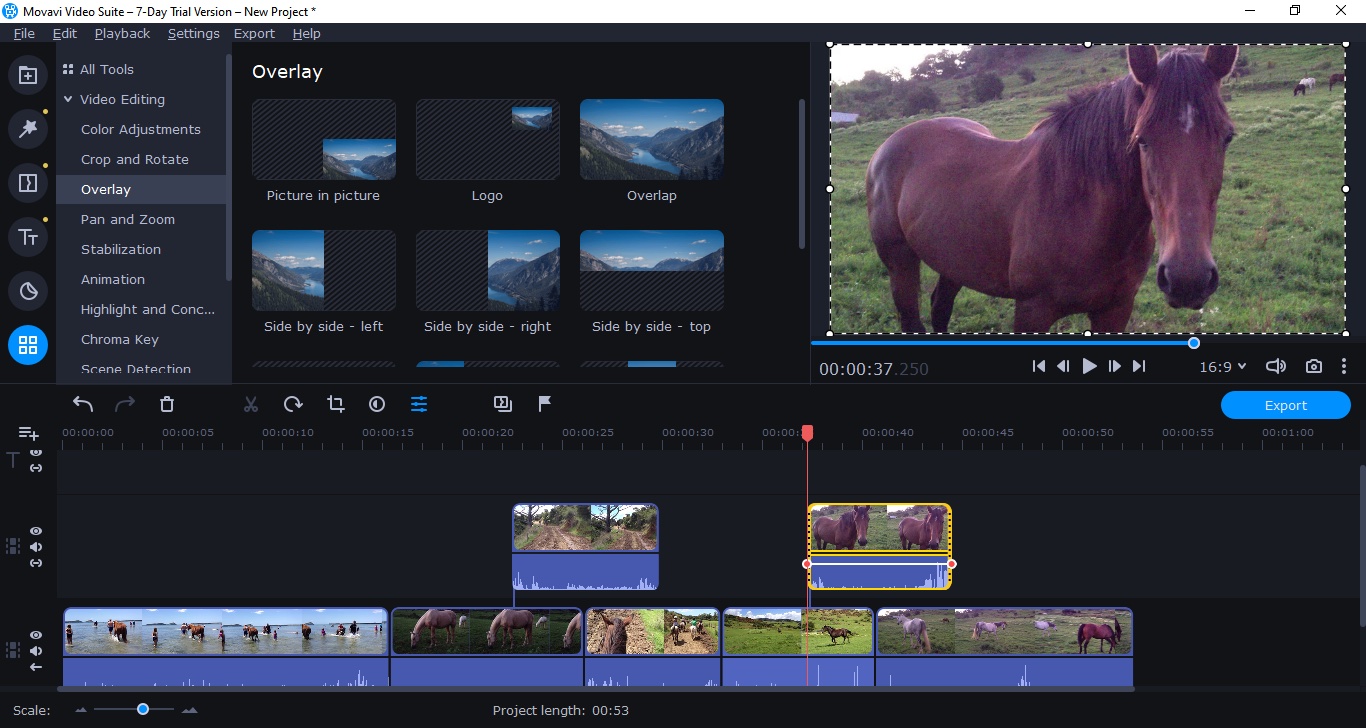
Editing clips is as you’d expect: you can trim their In or Out points by clicking and dragging their edges inwards. Alternatively, you can click on a clip to select it, move the playhead over the desired area and click on the Split button (the one shaped like a pair of scissors). These actions are non-destructive and dragging a clip’s edges outwards will restore the previously cut segment.
In order to help you create frame-accurate edits, this software allows you to navigate your work on a frame by frame basis using keyboard shortcuts, although those that are included could be simplified, and there sadly isn’t enough of them (editing with a mouse is always more time consuming than via a keyboard).
The developers had an extremely puzzling decision to not display the timecode in frames, but rather by hundredths of a second. To make matters worse, this division isn’t consistent. Try this yourself: move the Timeline’s playhead forward one frame, then make it go back one frame. Repeat this a few times, and you’ll see the hundredth of a second value changes each time even though you revisit the same frame over and over again. This is not acceptable for precision work.
Titles and effects
Movavi Video Editor comes with a generous collection of filters and transitions which you can preview by clicking on their icon. To add them to your edit, just drag the one you need to the selected clip.
Titles work in the same way, but you can also easily customise them, like changing their position on the screen, alter the text, font, colour and size, all by selecting which section you’d like to change in the interface’s main Preview pane. Many of those titles are animated, helping you create fancy effects in seconds. It’s also easy to retime those animations to fit your edit.
You can preview each and every one of these effects by clicking on the one you’re interested in. The preview pane is replaced by a sample of your chosen effect/transition/title/etc. It’s a shame the background used for these previews is a generic one, and it would’ve been more interesting to see a preview of what a selected clip would look like with a chosen effect applied to it.
One thing we found lacking was an absence of audio levels or audio meters. You can see a clip’s audio waveform in the timeline, but it’s impossible to know if any part of it is peaking, and you have to resort to your own ears to make sure the volume remains consistent throughout - which is far from ideal.
Sharing
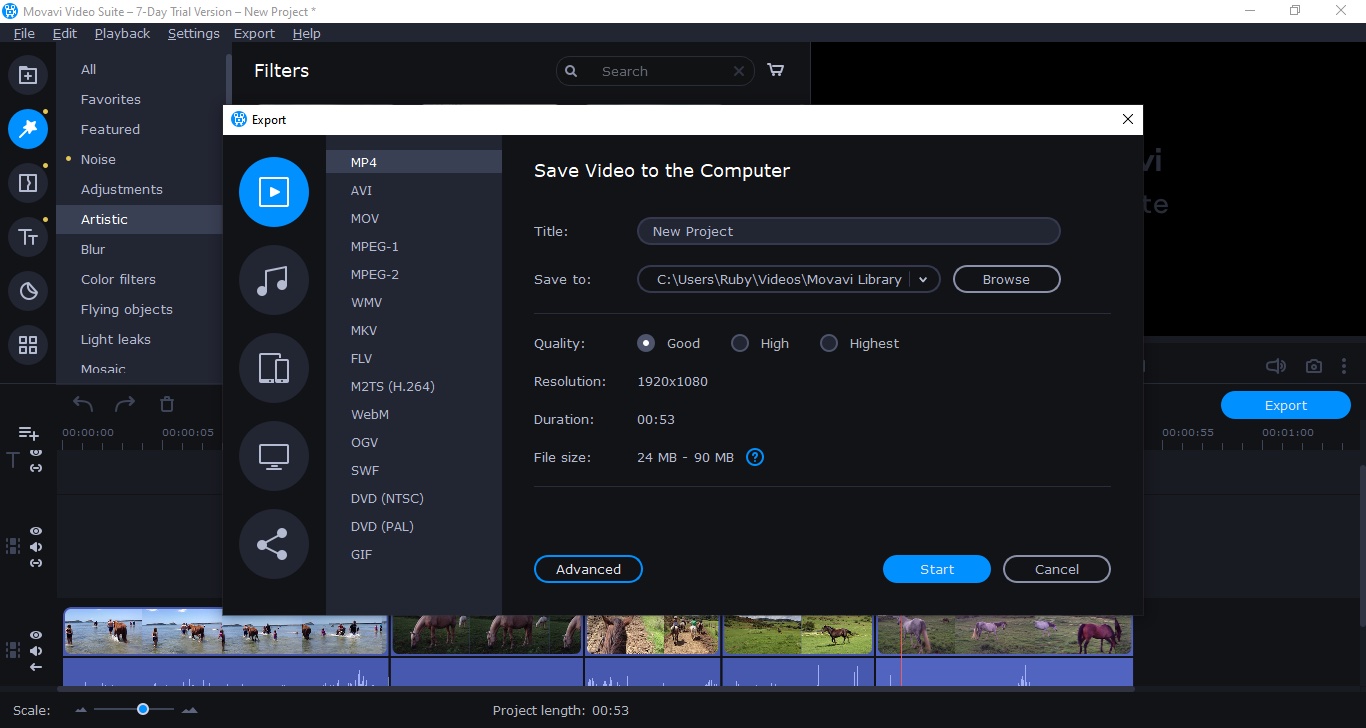
Once you’ve finished your edit it’s time to export it. MVE does provide a wide array of options, from saving it as an MP4 (ideal for the web and the default option), to over a dozen other codecs. You also have access to Advanced settings for most of these, should you need to go beyond the basics. There are presets for various mobile devices, and you can also upload your video straight to YouTube, Google Drive or Vimeo directly from that interface.
Final verdict
Overall, the video editing apps that are part of the Movavi Video Suite look good and perform well. There are come inconsistencies and omissions which can be frustrating, especially if you’re a frame-accurate, pixel perfect kind of person, but there’s a lot to appeal to a casual editor who’s on the lookout for more than what any bundled software has to offer, but isn’t ready for all the control and bells and whistles a fully professional package has to offer. This is an excellent middle-ground video editor. If you’re interested, take advantage of its 7-day free trial to check it out.
- We've also highlighted the best video editing software
from TechRadar - All the latest technology news https://ift.tt/3nZ7gMZ
via IFTTT
0 التعليقات: